Taboo home
Detail photos
Kit contents
Construction notes
Construction photos
Ballast installation
Customer feedback
21. Make sure the servos are in neutral position. Pull out the
copper wire from the nyrod, apply CA to it and insert it again.
Insert the Z-bend into the servo horn. Insert the control rod into the
nyrod. Apply CA and slide the rod in and out a couple of times
to let CA inside the nyrod. Hold the control surface in neutral
and let the glue set. No mechanical adjustment is possible,
only radio trimming, so make sure all trims and control surfaces
are in neutral when gluing the control rods.
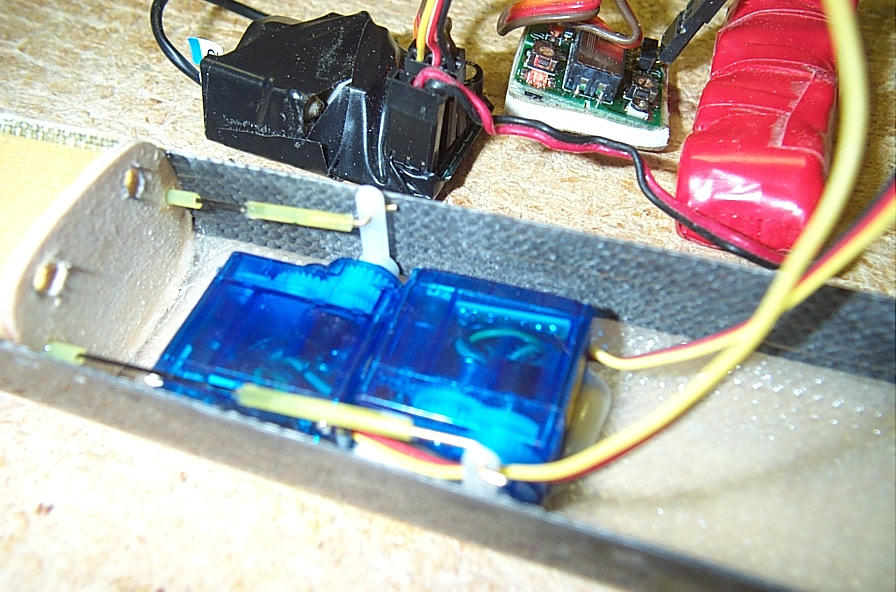
Install the receiver, battery, and switch, tape the canopy using
a clear tape to the fuselage.
|
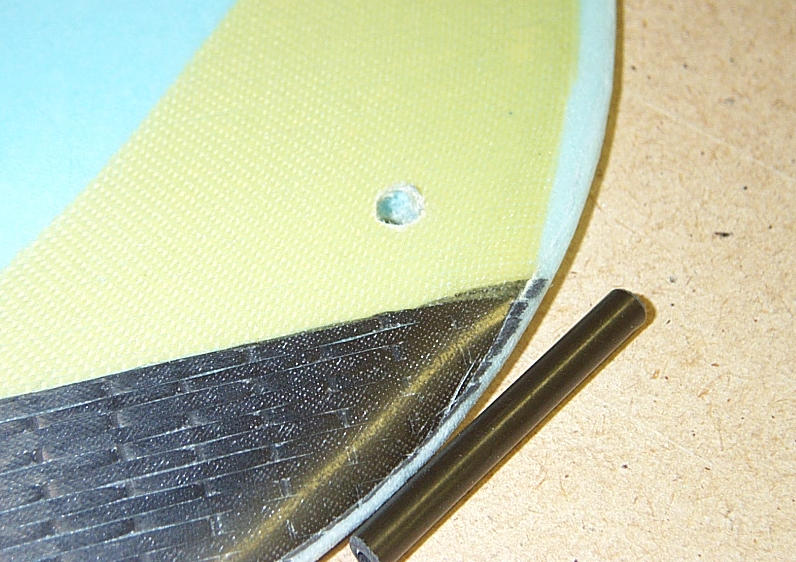
22. Drill a hole for the finger peg in the wing tip. Recommended
location is either through the carbon spar, or slightly behind it,
through the kevlar reinforcement.
|
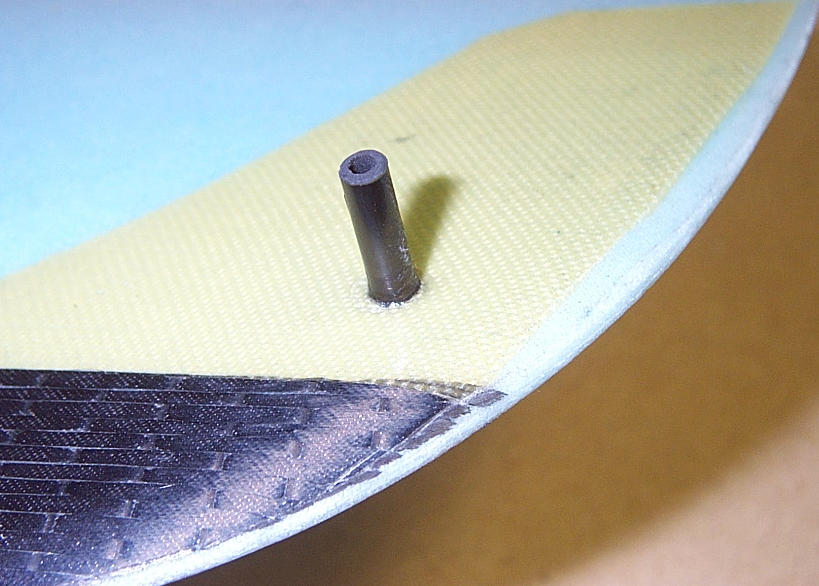
23. Insert the carbon tube into the hole and apply foam safe CA
around it. Rotate the tube to let CA flow into the joint. Make
a small fillet of glue around it for reinforcement.
|
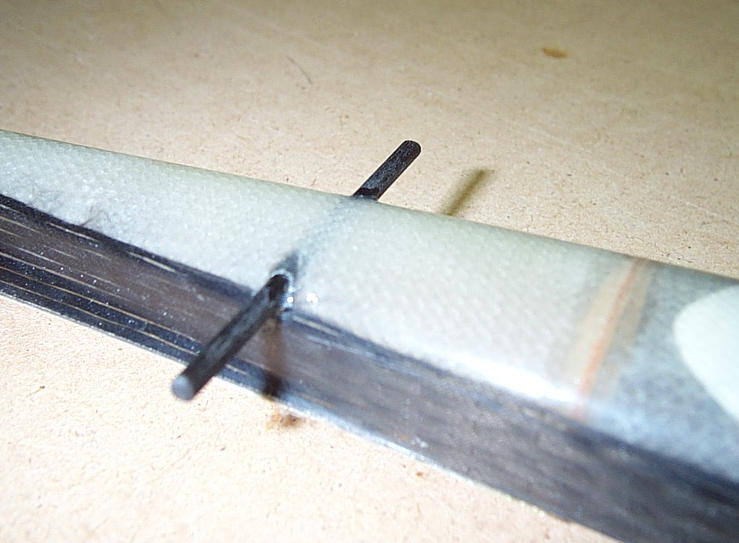
24. Make 2 holes near the fuselage bottom for the fuselage
peg using X-acto knife. Insert the 1/8" carbon rod piece into
the holes and apply CA around the joint.
|
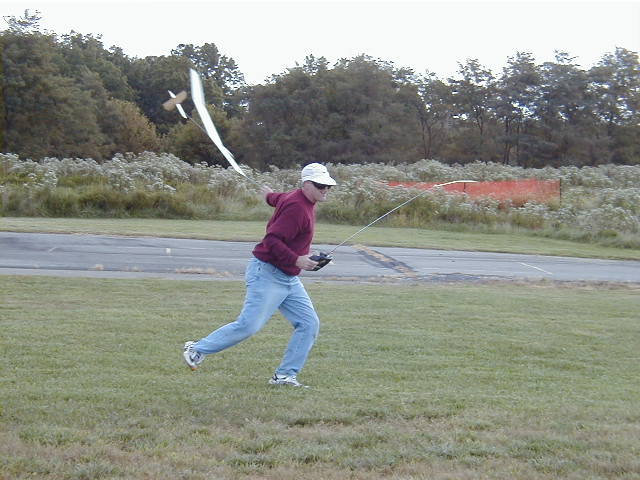
25. Balance the glider at 60-70mm from the root leading edge.
Go fly!
|